From my machinist background I can understand some people’s concern (or at least interest) about poor upper/lower fit. I love to get out my Starrett stuff and measure everything to the nearest .0005 and think about how a part was manufactured and how tolerances are held or not held in real work environments.
I’ve read a number of threads, however, that seem to suggest that a certain degree of slop is within the anticipated tolerance stacking if you want to be able to have interchangable parts sourced out of many different machine shops and all headed for a battlefield–where a bit of slop is far less of a problem than an upper/lower match up that gets stuck and can’t be torn apart easily during an “intense” situation.
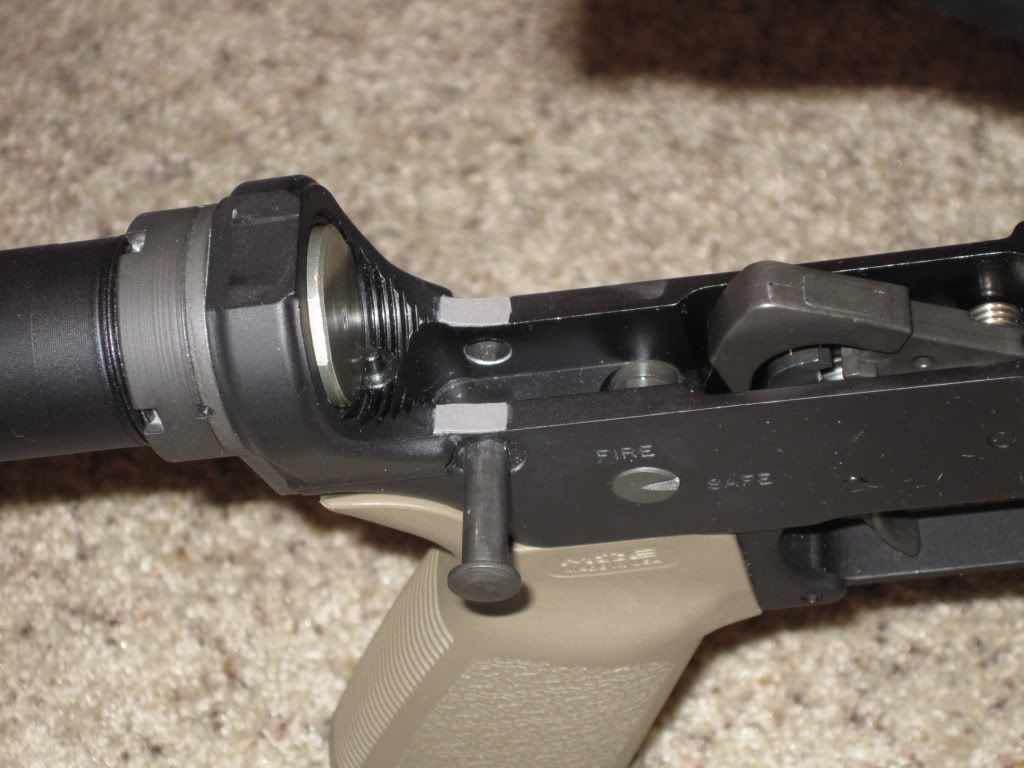
My Stag/CMT lower and my BCM upper had enough slop that a .006 feeler could be run between them easily. That’s quite a bit of tolerance stacking all going in the same unfavorable direction.
Rather than accept my luck of the tolerance stacking draw and a sloppier fit than I would prefer, I totally fixed the “problem” with a couple of dabs of J B Weld. It took a little time and experimentation to determine how long to wait before “closing the lid,” and it took a bit more to figure out just how and when to trim off the excess and make everything look good. But the results are worth it: a bank vault stability combined with total ease of pin movement without tools.
Later, if I put another upper on this lower (it’s the lower that has the J B weld on it) I’ll remove the J B Weld with Methylene Chloride (paint stripper) and everything will be good to go.
Of course, since I don’t think I’ll be using my AR in a combat zone where I might have to change out parts quickly with lives on the line, I’m comfortable with my little bedding job and how it makes the rifle feel much more solid.
On the other hand, if I hadn’t figured out how to “fix” this “problem,” I would be totally OK leaving it as is, understanding that my particular upper/lower combination was on the edge of the go/no go tolerances required for parts going into a battle tool.
i love to see home gun-smithing… i’m not one to criticize a guy for making shit the way he wants it. however- that weapon obviously hasn’t even been dry-fired, let alone live-fired. i really think you should consider getting some rounds down-range before diving into alterations that are totally unecessary and might have unforseen consequences.
my JB use has been limited… i have, in fact, recently made a couple of AR repairs with the stuff, but haven’t yet put it to the test. how well is it going to stick? if it starts to fall apart on you, you could very easily, and very likely, end up with weapon stoppages as flakes crumble into your FCG. for instance.
also, just as with tensioning screws, you’ve now fixed the gap open, allowing dirt and shit to get into the lower more easily… just another thing to consider.
you get props from me for making the attempt, though. let us know how it works out, when you actually shoot the thing.
Thanks for your reply. A couple of corrections, though.
First, about letting dirt in. It’s true that the gap, without the shim, could sometimes be about .003 smaller on both sides (it wouldn’t close all the way unless the pin was removed). But since it wobbled side to side, unless the gun was held just so so, the gap on one side or the other would actually go bigger than .006 before the shim.
Second, the gun has actually had a few rounds through it and has been dry fired a little too. The light didn’t reflect off the hammer to catch the scratches, but this is indeed a rifle with rounds through it.
Third, in my experience using JB Weld in very high stress situations, as long as the surface is cleaned (acetone) and the cure is allowed to set completely before use, chipping and flaking hasn’t happened. We’ll see about it here on an AR. I’m not going into battle any time soon, so if something goes wrong, I can deal with it. My risk management issues are quite a bit different from what my son will soon be dealing with after boot camp.
There is nothing we can offer to ever convince you that nothing you “fix” by doing this matters at all in terms of function or accuracy. Shoot the shit out of that gun.
I’ve seen some people do this kind of thing in the past for Service Rifle/High Power events. It helped mostly in the area of confidence.
In all seriousness, If your concern is getting a rock solid fit between the upper and lower, you could just machine your own to the tolerances you want. These are really made to be production line utility blasters, and the tolerances reflect that.
Also, good job doing what you want to on your guns.
Some people have too much time on their hands and are seriously over thinking this. Why does the play matter? It does nothing to improve accuracy and I firmly believe that if you understand the system you will realize that a little play is probably good.
Worry about getting proficient with the weapon and doing proper maintenance.
The premise of this thread is absolutely absurd. There is no place on M4C for modifying an AR with JB Weld. I am closing this - consider it a general warning to avoid such postings in the future. If anyone has an issue with this feel free to contact me for additional clarification.