Page 1 of 2 12 LastLast
Results 1 to 10 of 667

Thread: How to make a Kydex holster Picture Tutorial

Hybrid View

Previous Post Previous Post   Next Post Next Post
  1. #1
    Join Date
    Sep 2010
    Posts
    229
    Feedback Score
    5 (100%)
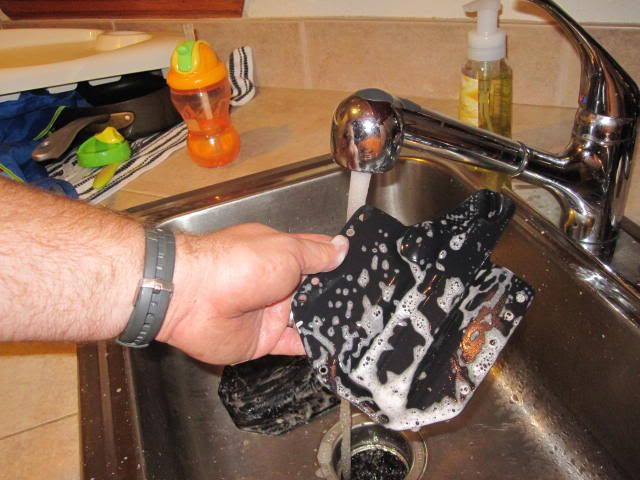
    This is very important step: GIVE YOUR KYDEX A BATH!

    You will want to get all the grit out of both sides of the holster. I use soap and water and scrub it down and dry it off to make sure there is no Kydex "dust" or particles anywhere as they are a sure fire way to scratch up your guns surface. And once the two halves are joined together it is hard to get in there to scrub it out. (unless you leave the muzzle end open).


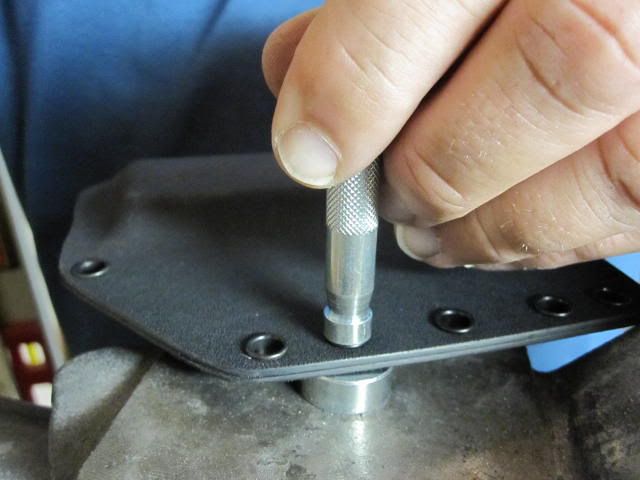
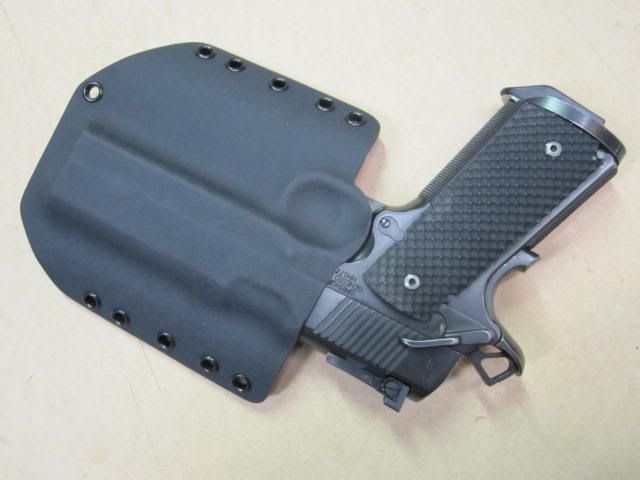
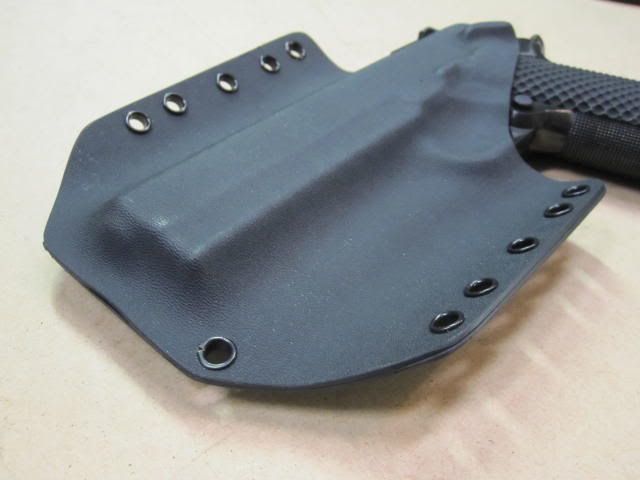
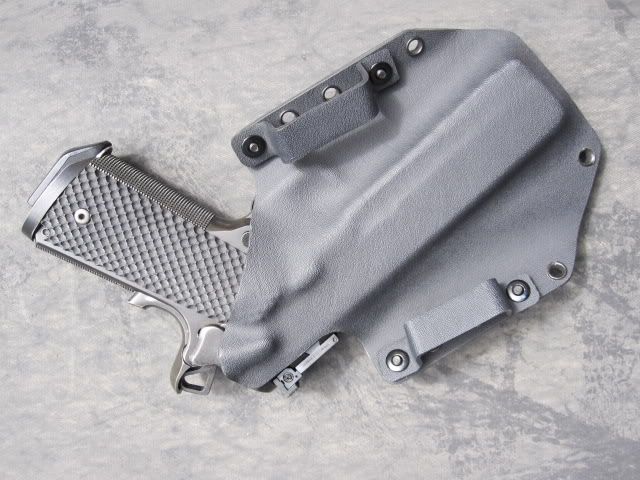
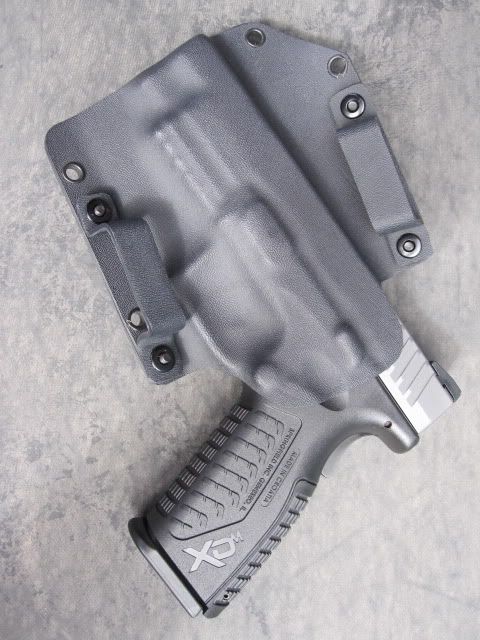
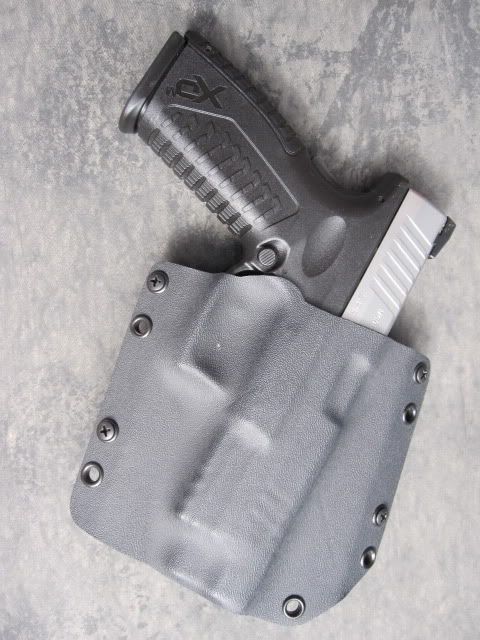
    Now it is time to set the rivets (I think the correct term is eyelet). I use an old school method with a hammer, punch and die. It is super simple to use, and even easier to mess up. Hit one time too many or too hard and the rivet will split everytime. It is simple physics... steel verses brass? Steel wins everytime!


    Setting the die onto something like the anvil on your vice helps tremendously. Practice with a few scraps before boogering up your nice holster. I find several even light taps (checking every few) works great. Since I didn't mention it, the "mushroom" head of the rivet rests in the die, and you use the punch to roll over the top of the open rivet.


  2. #2
    Join Date
    Sep 2010
    Posts
    229
    Feedback Score
    5 (100%)
    Now you have a nearly finished holster. I like to roll the edges over like Raven does on their terrific holsters. This is how I do it on mine. I made a jig out of nylon block (most anything would work here, wood etc.) with a groove cut into it the exact width of the Kydex plus the rivets.


    I then slide the jig over the rivets on one edge and use a heat gun to warm up the Kydex just to the point where I can feel the Kydex going into the plastic state. Then I pull the heat and begin to use the jig as a sort of clamp/handle to bend the side over to the desired shape. NOTE: TOO MUCH HEAT HERE AND YOU WILL HAVE TO START OVER. If you have done well to this point your holster will be stiff and it will be hard to insert and draw your gun... this is GOOD. If you heat the sides up too much to get this bend, you will loosen the mold around the slide/trigger guard and loose most if not all of your retention. Go slow, use low heat and you will be fine.


    Another quick trip to the freezer will set the bend at your desired spot. Repeat on the other side. How much should you bend it? Well, I just hold the holster at my hip and eyeball it. Pretty scientific huh?


    Here is what you will end up with! (hopefully without the split rivet... gotta' redo that one, whoops)


  3. #3
    Join Date
    Sep 2010
    Posts
    229
    Feedback Score
    5 (100%)
    I will add a few more pics and details of how to dial in the draw/retention and fit later. I will also post up a blip on how to make the belt loops.

    For now here are a few more I have made.


    Springfield LWT Champion Operator with Surefire x300


    Springfield TRP Operator


    Springfeild XDm 9mm


  4. #4
    Join Date
    Mar 2010
    Location
    Seattle, WA
    Posts
    640
    Feedback Score
    4 (100%)
    Dang, great post.
    Last edited by MookNW; 10-15-10 at 23:43.

  5. #5
    Join Date
    Nov 2008
    Location
    OR
    Posts
    158
    Feedback Score
    0
    Excellent post, bookmarked for later. Thank you!

  6. #6
    Join Date
    Jul 2009
    Location
    Northern Kentucky/Cincinnati, OH
    Posts
    511
    Feedback Score
    0
    Awesome tutorial, thanks for posting this.

  7. #7
    Join Date
    May 2010
    Location
    midwest
    Posts
    8,217
    Feedback Score
    4 (100%)
    Very cool tutorial!

  8. #8
    Join Date
    Nov 2007
    Location
    US
    Posts
    2,709
    Feedback Score
    7 (100%)
    Quote Originally Posted by Keesh View Post
    Excellent post, bookmarked for later. Thank you!
    Agreed. Good stuff
    "Intelligence is not the ability to regurgitate information. It is the ability to make sound decisions on a consistent basis "--me

    "Just remember, when you are talking to the average person, you are talking to a television set"--RDJB

    One Big Ass Mistake America

  9. #9
    Join Date
    Oct 2010
    Posts
    55
    Feedback Score
    10 (100%)
    Quote Originally Posted by Rezarf2 View Post
    I will add a few more pics and details of how to dial in the draw/retention and fit later
    Any update on this? Interested in finding out techniques for doing this.

    Also, if anyone has any good tips on creating the channel for the mounted light?

  10. #10
    Join Date
    Nov 2009
    Location
    OH
    Posts
    35
    Feedback Score
    0
    I'm also curious how other people are adjusting retention.
    I know that for me it seems like the ejection port seems to be a catching point.
    Need to put up some pictures of my first holster try which we've been keeping around for fun. Pressed so tight that the trigger (not just guard) was fully molded. As well as every detail of the rail.

Page 1 of 2 12 LastLast

Bookmarks

Posting Permissions

  • You may not post new threads
  • You may not post replies
  • You may not post attachments
  • You may not edit your posts
  •