


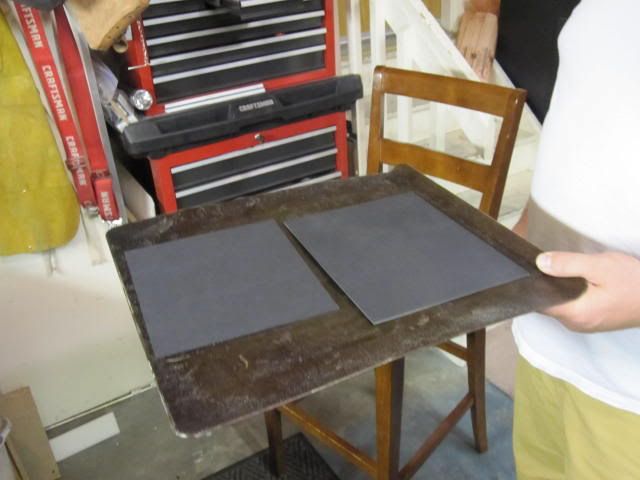
Once you get your Kydex cut to size you are going to want to start baking it. I see a lot of dudes using dedicated toaster ovens for this (probably a good idea) but I use an old cookie sheet and toss the kydex in for 10 minutes at 350*. If you don't use a cookie sheet you will run the risk of warping the edges to a point that they will not mold. Also, if you run no cookie sheet you will need significantly less time in the oven YMMV.
While your kydex is heating up (and thus becoming flexible enough to mold) you can start setting up your kydex press. You want everything laid out because the second the kydex comes out of the oven it will begin cooling rapidly so you want to make sure everything is laid out and ready.
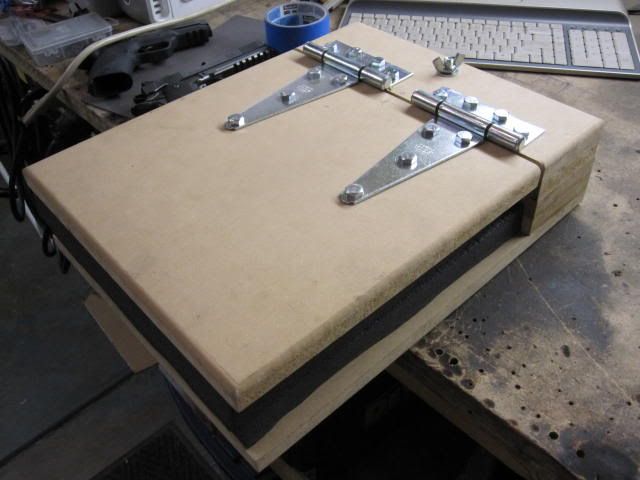
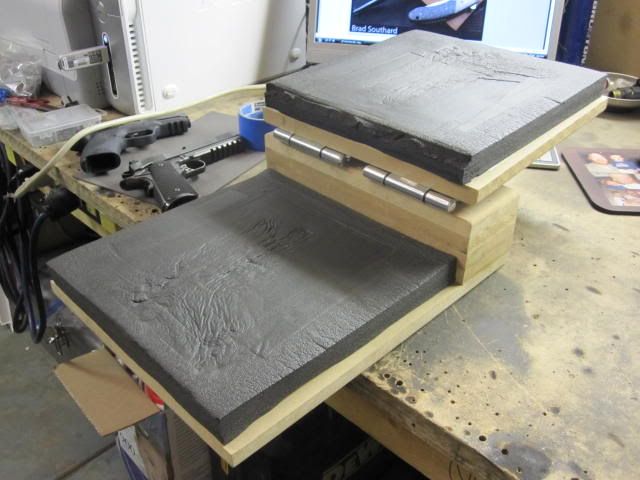
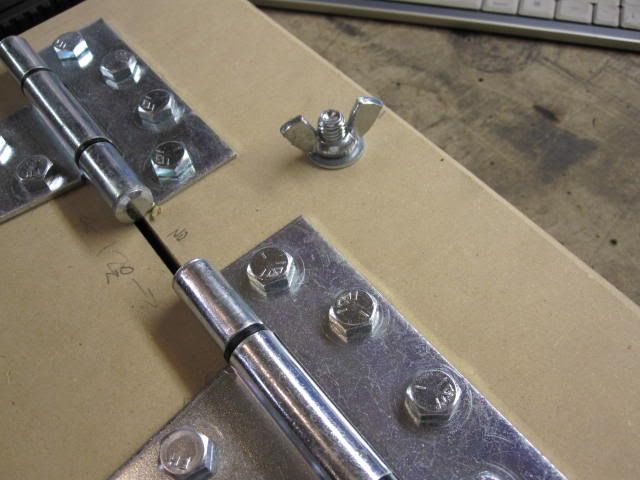
Here is a few pictures of my kydex press. It is made from several layers of MDF and lagged together in a few spots. I used a few inexpensive gate hinges found at the local home improvement store. I have the press bolted through my workbench so it can't move around on me once I start the molding process. It is pretty simple but here is a tip, DON'T SKIMP ON THE FOAM! Quality foam is the key to getting nice detail on your holsters. It is expensive but lasts just about forever. I have seen a lot of guys use the blue camp mats from wally-world and they simply will not yield the highest quality holster... there my rant is over. :biglaugh:
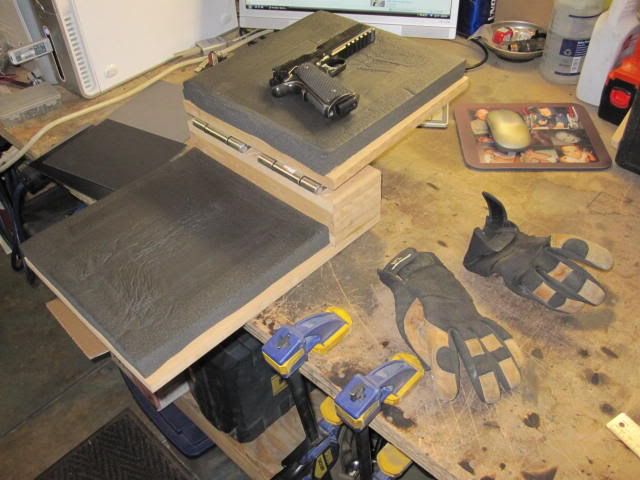
Here is a shot of how and what I lay out before grabbing the kydex out of the oven (I actually will have the gloves on by the time I pull it). I like to lay out the gun on the foam so I can drop the body side (larger) piece down first layout the gun then add the outter piece of kydex.

 Reply With Quote
Bookmarks